I’ve seen people regularly ask how they set up a quick development environment that has all the settings ready for them to dive in. Basically, installing the theme and plugins that they always work with can be time-consuming and just plain old boring at times. Also, it’s easy to forget things.
Some Options
Here are some methods I’ve seen people suggest.
Maintaining a starter instance and duplicating that every build
So basically, you keep a relatively blank WordPress setup somewhere (like on localhost, or on a subdomain blind site) and whenever you start a new project, you just migrate or duplicate that whole system over. So if you have a list of plugins and theme that you enjoy working with, you can just keep them up to date, and when you duplicate it, it’s all set up for you. Great idea.
This method works especially great for hosting services like WP Engine where you can just duplicate an instance with a click. Super useful.
Keeping a backup folder of wp-content and uploading all the basic stuff
This is a more FTP / file manager approach, but it helps upload everything in bulk. Simply drop a zip file of an ideal wp-content folder and unzip and overwrite it on the fresh install. Then when you check the WP backend, you’ll see everything there ready to be activated.
This method is great especially if you need to work with different types of builds. Even having a handful of plugins that you always rely on would be great if you have to use different themes for different sites.
Here’s my method (and the whole idea of this tutorial)
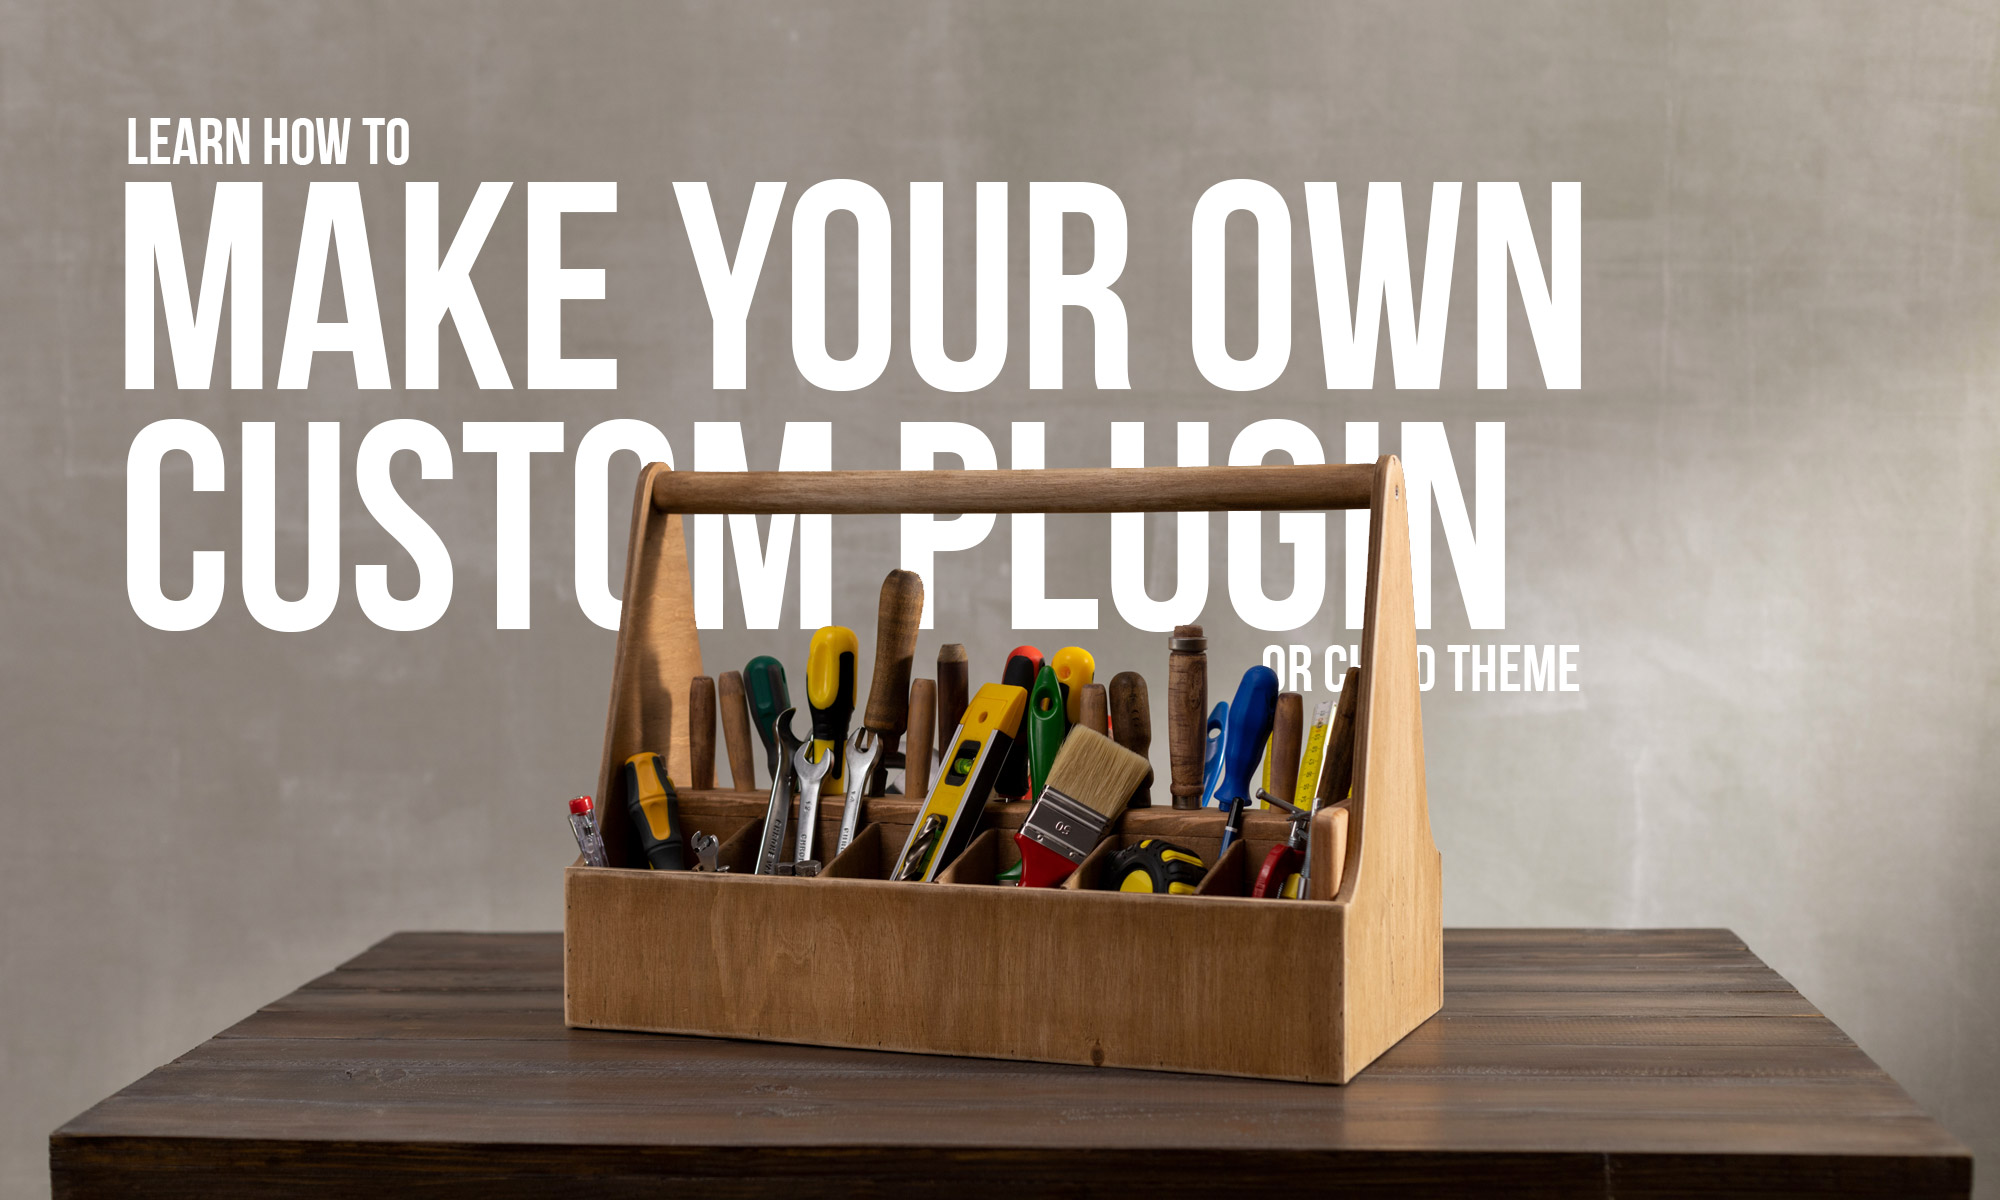
Making your own custom plugin and/or child theme and load everything from that
The benefits
I’ve stuck with this method for years now because of the benefits it provides.
- It works with any build style. Whether you’re using a theme+builder (Astra+Elementor, Hello+Elementor, Beaver+Beaver) or, just a plugin (Oxygen, Breakdance), or just a theme (Divi, Generatepress, Kadence, Bricks), uploading a custom plugin will set you up in a matter of minutes.
- You can drastically reduce the number of extra plugins if you set up this one right.
- The extra customizations you add can be packaged into one place, so it’s super easy to find what to edit.
- It’s easy to brand.
I feel that’s good enough to warrant a tutorial, right?
The Requirements
Here’s what I would look for in such a setup.
Easy installation of a handful of plugins, both on the WP repo or pro versions downloaded irl. There used to be a plugin a long time ago that allowed multiple plugin uploads, but it’s been discontinued. So we’ll look into that in this tutorial.
Easy way of adding extra code. PHP, CSS, JS, tracking scripts, etc. I’ve seen lot of people install an extra plugin for these things and depending on what they opt in for, it can end up in having multiple plugins. Familiar with CPTUI, php snippets, extra css+js, monster insights, etc? You can clean all that up and put them in one plugin/child theme and be done with it.
Easy way of adding extra assets like fonts, icon sets, etc. Rather than having to upload it into each site and loading it from there, you can just keep it in your plugin/child theme and use it from there.
The Video
Time stamps
0:00 Intro
0:45 Other common methods
1:30 My method – history – child themes vs. plugins
4:15 Demo in sandbox
7:15 How to edit to make it your own
9:45 Modifying the folder
10:45 Adding plugins to the bulk install list
16:05 Adding extra code in the head and body
17:40 Adding CSS, JS, and fonts
20:55 Conclusion
21:20 Like, sub, join our Discord
The Download
Download this plugin, it has everything you need.
If you really want to make your own, and want to start from scratch
The Links and Code Snippets
TGPMA site here: http://tgmpluginactivation.com/
WP code stuff
Let’s have a quick look at the main plugin file: custom-plugin.php
<?php
/**
* Plugin Name: My Custom Plugin
* Description: This plugin contains extra custom functions.
* Author: Your Name
* Author URI: https://yourdomain.com
* Version: 0.1
*/

//// enqueue stuff
function ai_custom_scripts() {
    //wp_enqueue_style( 'sass1', plugin_dir_url( __FILE__ ) . 'css/fonts.css' );
    //wp_enqueue_style( 'sass2', plugin_dir_url( __FILE__ ) . 'css/main.css' );
    //wp_enqueue_script( 'js11', plugin_dir_url( __FILE__ ) . 'js/rellax.min.js' );
    //wp_enqueue_script( 'js13', plugin_dir_url( __FILE__ ) . 'js/custom1.js' );

}
add_action( 'wp_enqueue_scripts', 'ai_custom_scripts' );


////adding analytics code, etc
////add code in the header e.g. Google Analytics, Facebook Pixel, Hotjar, etc
function ai_custom_header_code(){ ?>

<?php
};
add_action('wp_head', 'ai_custom_header_code');


// Add stuff like the second Google Tag code which is supposed to be placed after opening body tag.
function ai_custom_open_body_code() {?>

<?php
}
add_action( 'wp_body_open', 'ai_custom_open_body_code' );


///code that goes in the foooter
function ai_custom_footer_code(){?>

<?php
};
add_action('wp_footer', 'ai_custom_footer_code');


//// adding plugins
//// required plugins
//// from http://tgmpluginactivation.com/
require_once dirname( __FILE__ ) . '/class-tgm-plugin-activation.php';


add_action( 'tgmpa_register', 'ai_custom_register_required_plugins' );


function ai_custom_register_required_plugins() {

    $plugins = array(

        //////PS This is not the Pro version, this is just the free one on the WP repo, but it's been set up just to demonstrate how to load a plugin from a local folder
        array(
            'name'               => 'Advanced Custom Fields',
            'slug'               => 'advanced-custom-fields',
            'source'             => dirname( __FILE__ ) . '/lib/plugins/advanced-custom-fields.zip',
            'required'           => true,
            'version'            => '',
            'force_activation'   => false,
            'force_deactivation' => false,
            'external_url'       => '',
            'is_callable'        => '',
        ),
        array(
            'name'      => 'Robin image optimizer — save money on image compression',
            'slug'      => 'robin-image-optimizer',
            'required'  => false,
        ),
        array(
            'name'      => 'Safe SVG',
            'slug'      => 'safe-svg',
            'required'  => false,
        ),
        array(
            'name'      => 'Redirection',
            'slug'      => 'redirection',
            'required'  => false,
        ),
        array(
            'name'      => 'The SEO Framework',
            'slug'      => 'autodescription',
            'required'  => false,
        ),

    );

    /*
     * Array of configuration settings. Amend each line as needed.
     *
     * TGMPA will start providing localized text strings soon. If you already have translations of our standard
     * strings available, please help us make TGMPA even better by giving us access to these translations or by
     * sending in a pull-request with .po file(s) with the translations.
     *
     * Only uncomment the strings in the config array if you want to customize the strings.
     */
    $config = array(
        'id'           => 'ai_extra',                 // Unique ID for hashing notices for multiple instances of TGMPA.
        'default_path' => '',                      // Default absolute path to bundled plugins.
        'menu'         => 'tgmpa-install-plugins', // Menu slug.
        'parent_slug'  => 'plugins.php',            // Parent menu slug.
        'capability'   => 'manage_options',    // Capability needed to view plugin install page, should be a capability associated with the parent menu used.
        'has_notices'  => true,                    // Show admin notices or not.
        'dismissable'  => true,                    // If false, a user cannot dismiss the nag message.
        'dismiss_msg'  => '',                      // If 'dismissable' is false, this message will be output at top of nag.
        'is_automatic' => false,                   // Automatically activate plugins after installation or not.
        'message'      => '',                      // Message to output right before the plugins table.

    );

    tgmpa( $plugins, $config );
}

////end required plugins
You can technically just copy paste this into your plugin folder and it should work as long as you’ve added the class-tgm-plugin-activation.php file in the same folder.
A quick breakdown.
- lines 2-8: Customize this to change the text that shows on the “installed plugins” page.
- lines 10-18: uncomment (“//” starts a single line comment in php and js) any line between 12-15 to load either a css file (so you can write css in the file) or a js file from the css or js folders respectively. (If you want to add more files, duplicate that line, change the name, and change the first work in the quotes in the parenthesis, like ‘sass2’ change it to ‘sass3’ so it won’t clash.
- lines 20-43: you can add extra code for the <head> or <body> or <footer>. It should go in lines 24, 43, or 40 respectively.
- lines 48-122: This is where you can put together a list of plugins that you’d like to load on every website you build. To add or change a plugin, you’re going to have to duplicate from
array(to),. - Lines 62-72 is how you load a plugin from within this custom plugin. It’s useful for including premium plugins. The
dirname(__FILE__) .is the plugin folder url and the'/lib/plugins/whatever.zipis the rest of the plugin url. Currently for this sample plugin you’ve downloaded I just included the ACF free version just to show how it should be added. Please change the name and the slug to fit the plugin you’ll be using in particular. - lines 73-77 (and the other duplicated ones below) are how you load a plugin from the WordPress.org plugin repo. The
nameis the name, and theslugis the last part of the plugin url on the repo. Sohttps://wordpress.org/plugins/safe-svg/plugin would haveSafe SVGas the name, andsafe-svgas the slug. - Of course, changing the
requiredtotruewould make it a required plugin.
Conclusion
Although at first glance it might look daunting, having your own custom plugin really helps immensely the more you start building websites.
Any tutorial that says “drop this php snippet in functions.php,” you can just drop it in the bottom of custom-plugin.php and you’re done. CSS, just drop it in main.css and enqueue it (uncomment it) and you’re done. It really keeps a lot of your customizations in one place.
Also, when you need to collaborate with someone, it’s easy to work with if you just have separate files to work on.
I do so many things with this, I add CPTs, taxonomies, ACF fields, all and any php functions I need, CSS, JS, etc. It’s one of the coolest time saving (and developer friendly) tricks you can have, and it’s served me well for years.
I hope you like it too!